A studio asks one open room to do everything. You sleep there, sit with friends there, eat there, and maybe work there too. Without any plan, the whole place can feel like one big bedroom with a sofa pushed into it, and nowhere feels finished or restful.
A studio can feel different when each activity gets its own small zone. The zones do the work that walls would do. They tell your eyes where sleeping ends and living begins. When a friend walks in, they see a place to sit and talk, not your unmade bed, and the whole room feels more like a home. The room can feel cozy and pretty in your own style, even when it is small.
Start with what you own, move the big pieces first, and add dividers and rugs only where a zone still feels unclear.
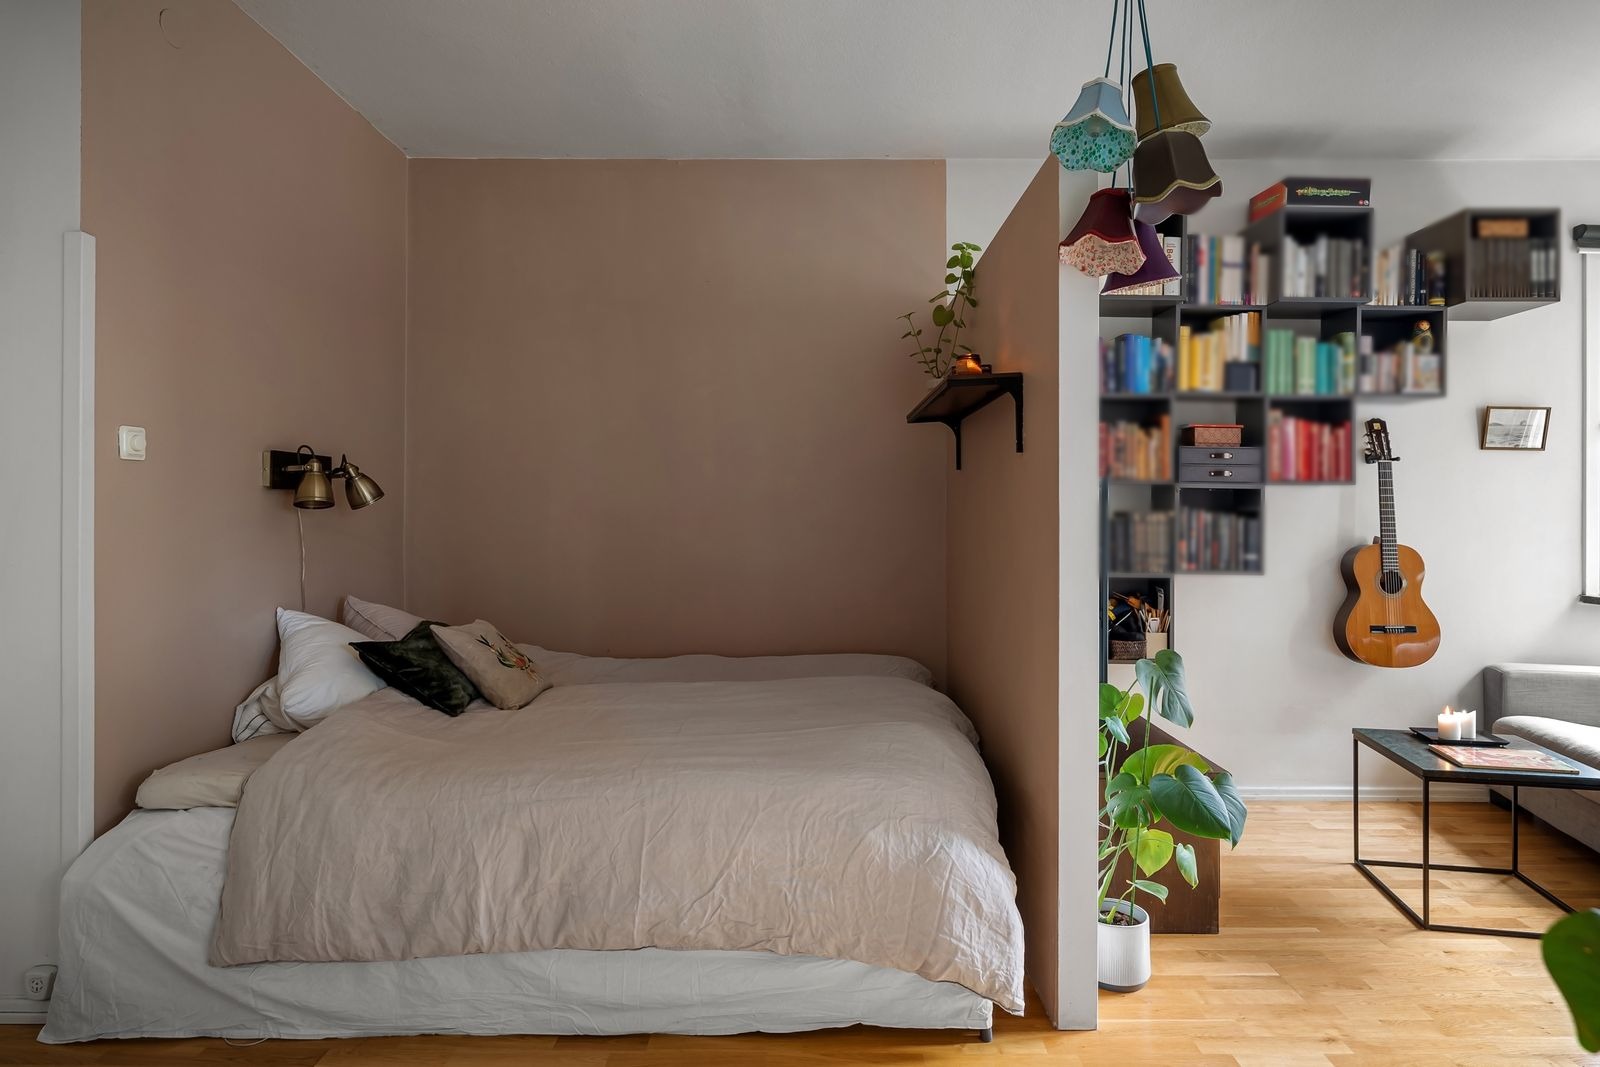
First, draw your zones on paper and place the biggest piece first
Before you move any furniture, draw a simple rectangle for your room and mark the door, windows, and kitchen. Inside, sketch four zones: sleep, sit, eat, and work. Keep work small if you only need a laptop spot. Then place the biggest piece first, usually the bed, and let the other zones grow around it. Ten minutes of sketching can save an afternoon of pushing heavy furniture around.
1. Use a rug to draw the border of each zone
A rug tells everyone where a zone begins and ends, without any wall at all. Put one rug under the sofa area, and a different one beside or partly under the bed, if your budget allows. Rugs do not need to match exactly. They look calm when they share a similar softness or color family. If you can only buy one rug at first, start with the sitting zone.
2. Divide with an open bookcase that stores and lets light pass
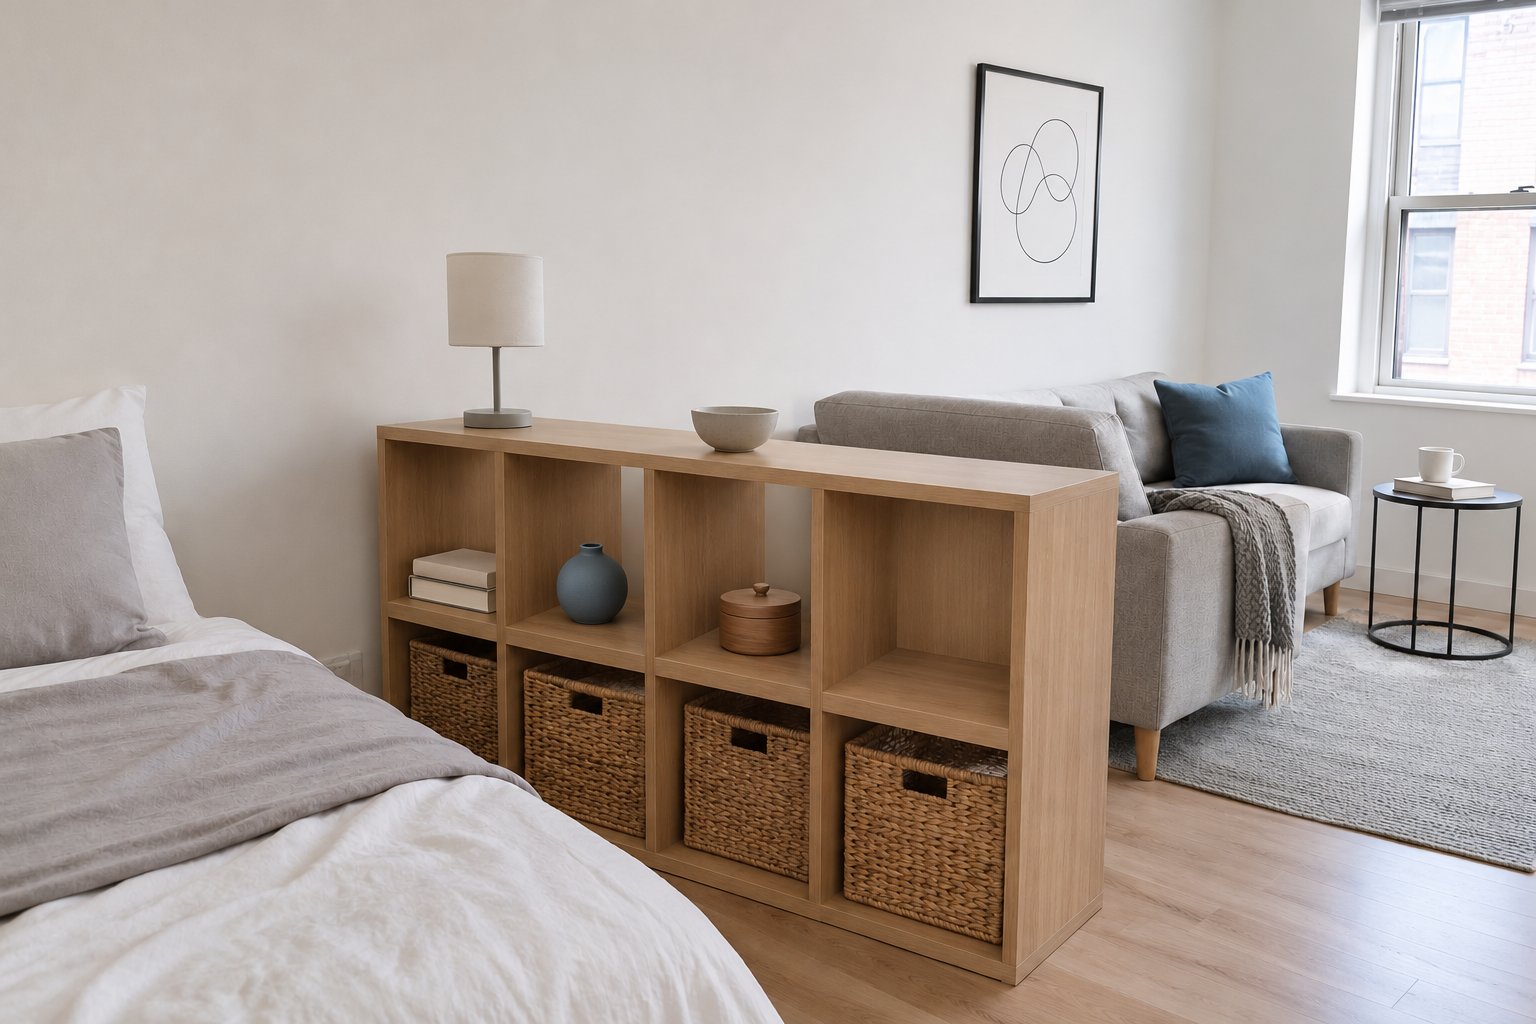
An open bookcase is a very useful studio divider because it stores things and still lets light travel through the room. Place a low or medium bookcase between the bed and the sitting area, and fill it from both sides if you can. Books, baskets, and a few pretty objects do real work here. Simple cube bookcases are budget-friendly, and they are easy to find secondhand.
One safety note matters here. A divider bookcase stands in the middle of the room, so it cannot be anchored to a wall. Choose a low, wide bookcase, around waist height, and put the heavy books and baskets on the bottom shelves so it stays steady. A tall bookcase does not belong in the middle of a room, especially in a home with kids or pets.
3. Hang a curtain for the sleeping corner
A curtain gives the bed corner privacy and a softer feeling at night. A ceiling track lets the curtain slide open in the morning so the room feels wide again. The track screws into the ceiling, so it is a small job to ask about first. Renters who cannot drill can try a tension setup in a small alcove, or a freestanding frame. Choose a fabric and color you enjoy, and keep it light enough that daylight can still move around it.
4. Let the back of the sofa act as a wall
Turning the sofa so its back faces the bed is a free divider that works right away. The back of the sofa creates a clear line: living on one side, sleeping on the other. Floating the sofa away from the wall is the same move we use in our small living room layouts for awkward spaces, and it works even better in a studio, where the sofa back becomes a wall of its own. If the sofa back looks plain, place a narrow console table or a low bookcase behind it for keys, books, and a small lamp. Consoles like that are often easy to find secondhand. This also gives you a natural place to face a TV or a window, instead of facing the bed all evening.
Cozy Footprint Tip: Stand at your front door after you move the sofa. If the first thing you see is the sitting zone instead of an unmade bed, your layout is already doing its job. That same spot by the door can hold a small drop zone for keys and mail, the way we set it up in our tiny entryway ideas.
5. Add a folding screen when a corner needs to change
A folding screen helps when one corner has to do two jobs, like a work corner that you want to hide at the end of the day. You can open it to close off the desk, then fold it flat against the wall when friends come over. Simple screens are budget-friendly, and secondhand ones cost even less. Because a screen moves so easily, it suits renters and anyone who likes to rearrange without buying new furniture.
6. Keep walkways clear in a simple loop
Zones only feel good when you can move between them without turning sideways. Leave a clear path from the door to the kitchen, bathroom, and window, like a simple loop around the room. Keep about 30 to 36 inches for the main path, and never much less than 24 inches for a short squeeze between pieces. If a chair keeps landing in that path, the zone next to it is probably too big, and shrinking it a little makes the whole studio easier to live in.
7. Allow one tall piece per zone, and no more
Tall furniture is useful, but too many tall pieces box a studio in and block light. Keep one tall piece in each zone at most: a bookcase in the living zone, a wardrobe in the sleep zone, and low pieces elsewhere. When most furniture stays below window height, daylight spreads further and the room keeps its breathing room.
The tall piece in each zone stands flat against a wall, and it needs an anti-tip strap. Anchor tall bookcases and wardrobes to the wall with an anti-tip kit, especially in homes with kids or pets. For renters, the kit needs one or two small screws, so ask the landlord first. It is a small hole that patches easily, and the safety is worth it. If the wardrobe is doing the work of a closet, our tiny closet organization ideas can help it hold more than it seems to.
8. Choose a small drop leaf or wall mounted table for eating and work
A big dining table can swallow a studio. A simple drop leaf table opens for meals or laptop work and folds down when you need floor space. A wall mounted folding table disappears almost completely when closed. The wall mounted kind needs screws into the wall, with proper anchors or a stud, because people lean on tables, so renters should ask the landlord first. The drop leaf asks nothing of the walls at all. Add two light chairs that can move to the sitting zone when guests visit, so no chair is ever just taking up space.
9. Make zones look calm from every angle with matching storage and light
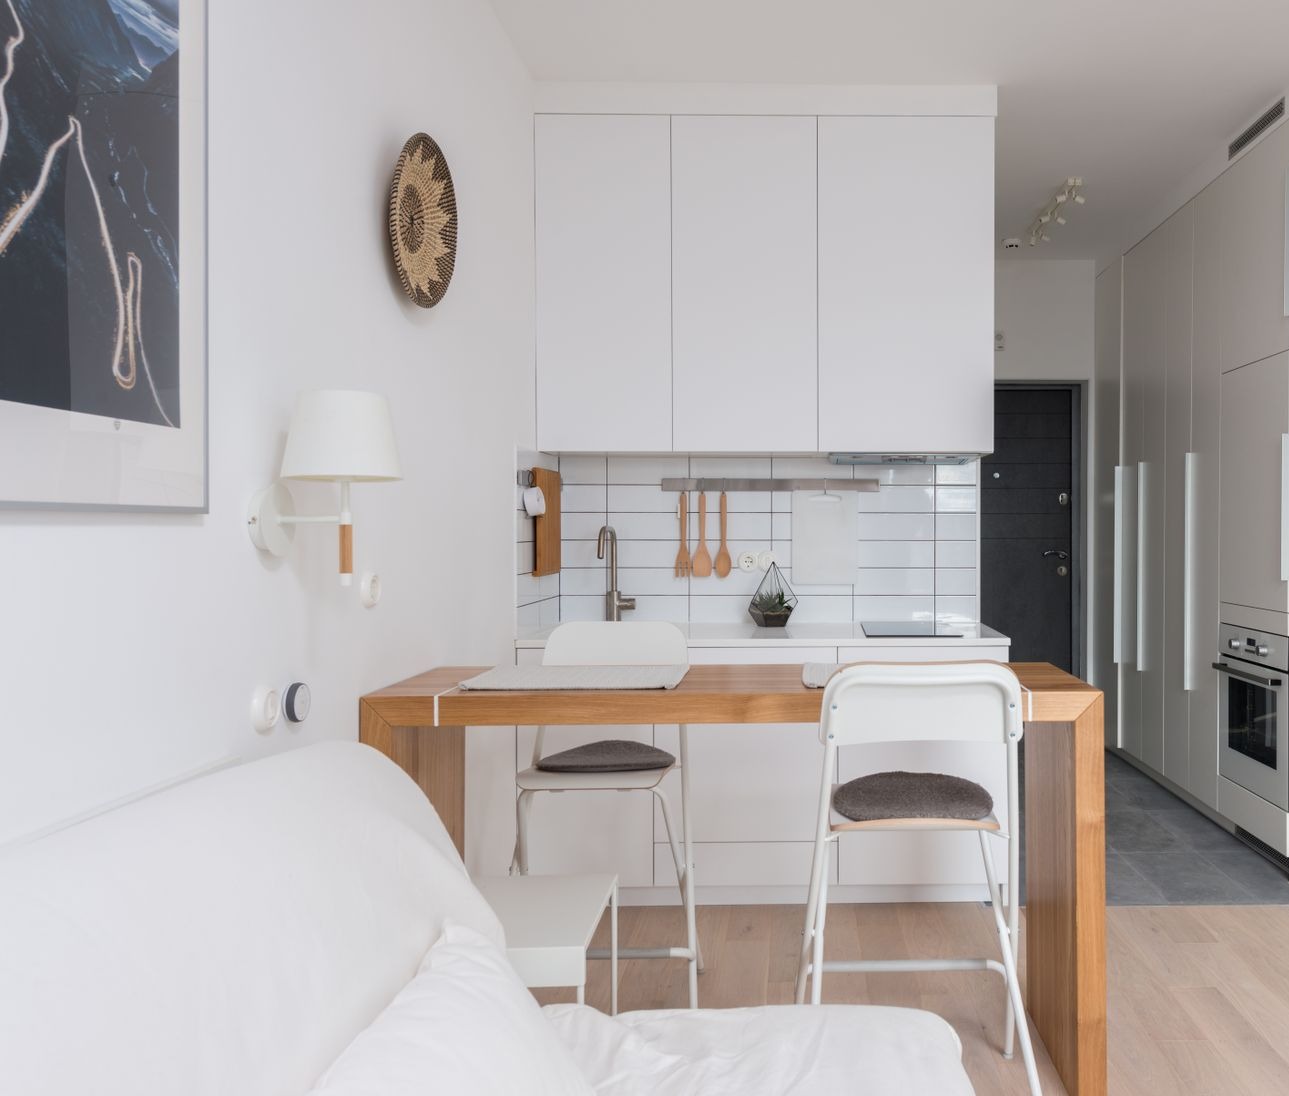
In a studio, you see almost every zone from every other zone. Matching storage boxes, in a style you like, help the room look calm because your eyes see one quiet pattern instead of many small piles. Use the same boxes on the bookcase, in the sleep corner, and near the desk. For the sleep corner itself, our small bedroom storage ideas cover the under-bed and beside-bed spots that studios depend on. Then give each zone its own small light: a lamp by the sofa, a warm light near the bed, and a focused light at the table, so no corner feels forgotten at night.
Cozy Footprint Tip: Take a photo of your studio from the front door and one from the bed. The photos show clutter and blocked light that your eyes miss when you stand in the middle of the room every day.
There are a few things worth avoiding while you arrange your zones. Tall, closed wardrobes placed in the middle of the room cut the space in half and block light badly, so keep them against a wall. Too many small rugs chop the floor into patches and make the room feel busy, so fewer and larger rugs usually work better. And keep the window area as open as you can, because natural light makes a small studio feel generous.
A studio becomes a home with real places inside it when each corner has its own job. Draw the zones, place the bed first, add a rug and one divider, and let the room settle into its new shape. When the sleeping corner feels restful, the sitting corner feels welcoming, and walkways stay clear, the whole room feels calmer and easier to keep organized, room by room and zone by zone.
Want more cozy organizing help? Get the free Cozy Home Starter Kit.